 96 Pindou
From a favorite image to a chart you can follow bead by bead.
Learn step by step with cat and dog examples in the creation console: upload, crop, size, color limits, brand palette, preview, material count, save, and export.
Watch and follow along
View all 9 videos ↗See it in action: from image to bead pattern
Follow a rabbit example through conversion, background removal, bead counts, downloads and color editing.
Link to this video ↗Adjust pattern dimensions
Find the dimension controls and compare detail, bead counts and difficulty at different grid sizes.
Link to this video ↗Why do small patterns lose detail?
Learn why each cell holds one color, how viewing zoom differs from grid dimensions, and why details need enough cells.
Link to this video ↗01Choose the right image first; the later steps will be much easier
Using these cats and dogs as an example: if a detailed fur photo is compressed directly into a small grid, the outline and facial features can blend into the background. You can first use AI image generation to simplify it into a chibi style, then send the generated illustration to the dashboard. Images that are already cartoons, text, or clear blocks of color can be uploaded directly.
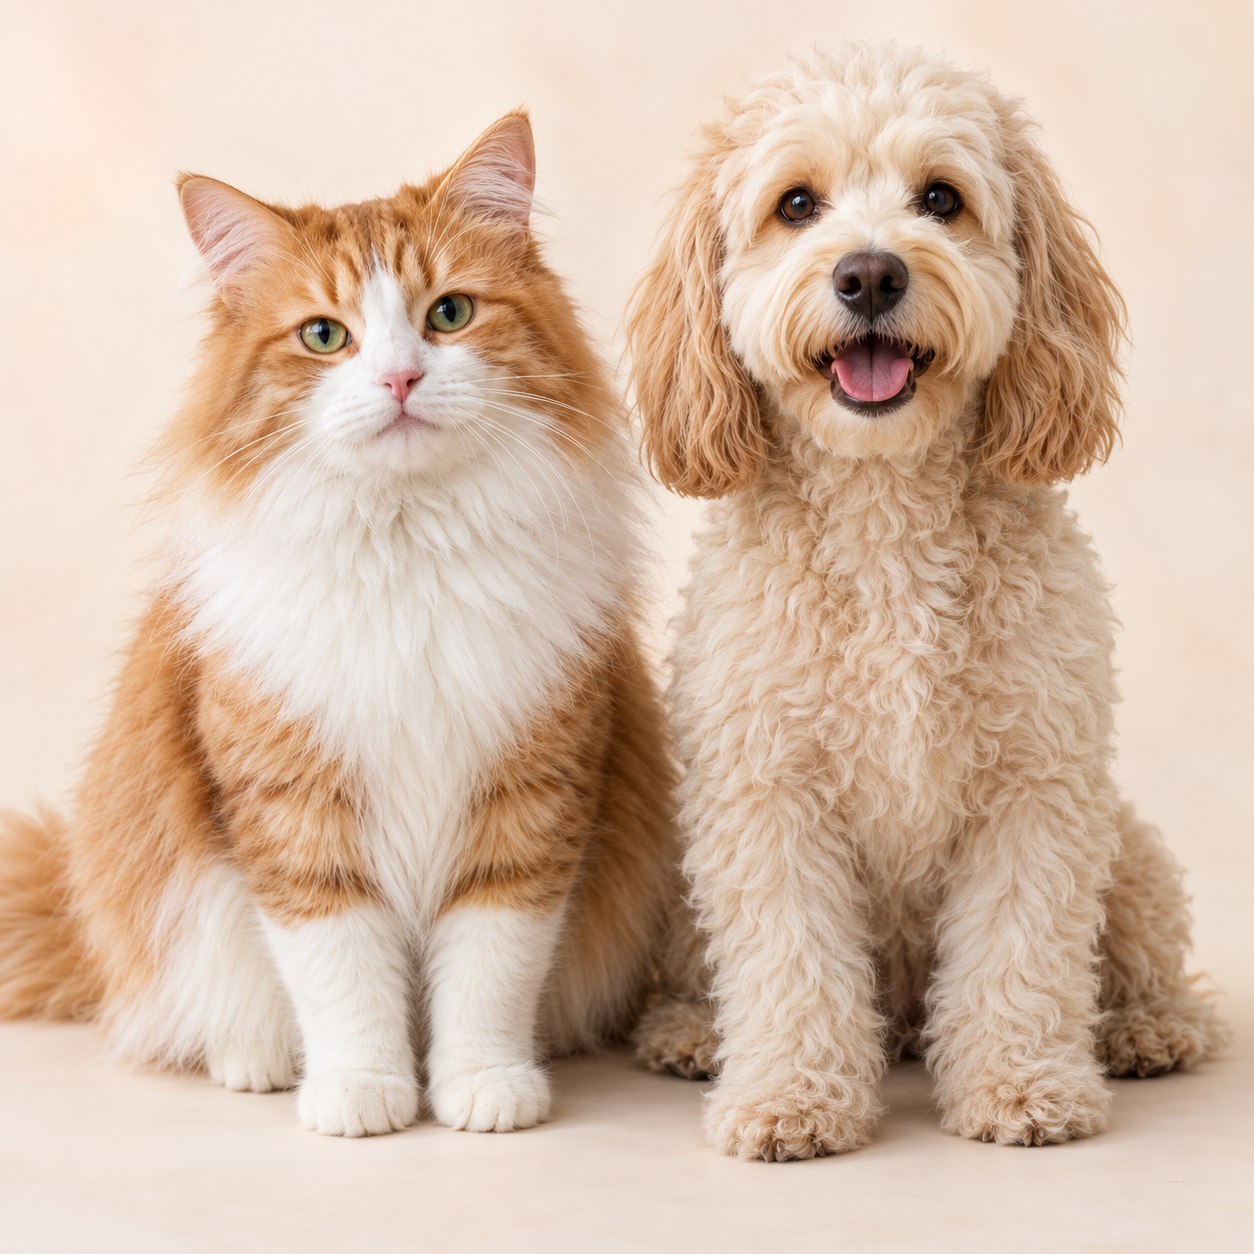
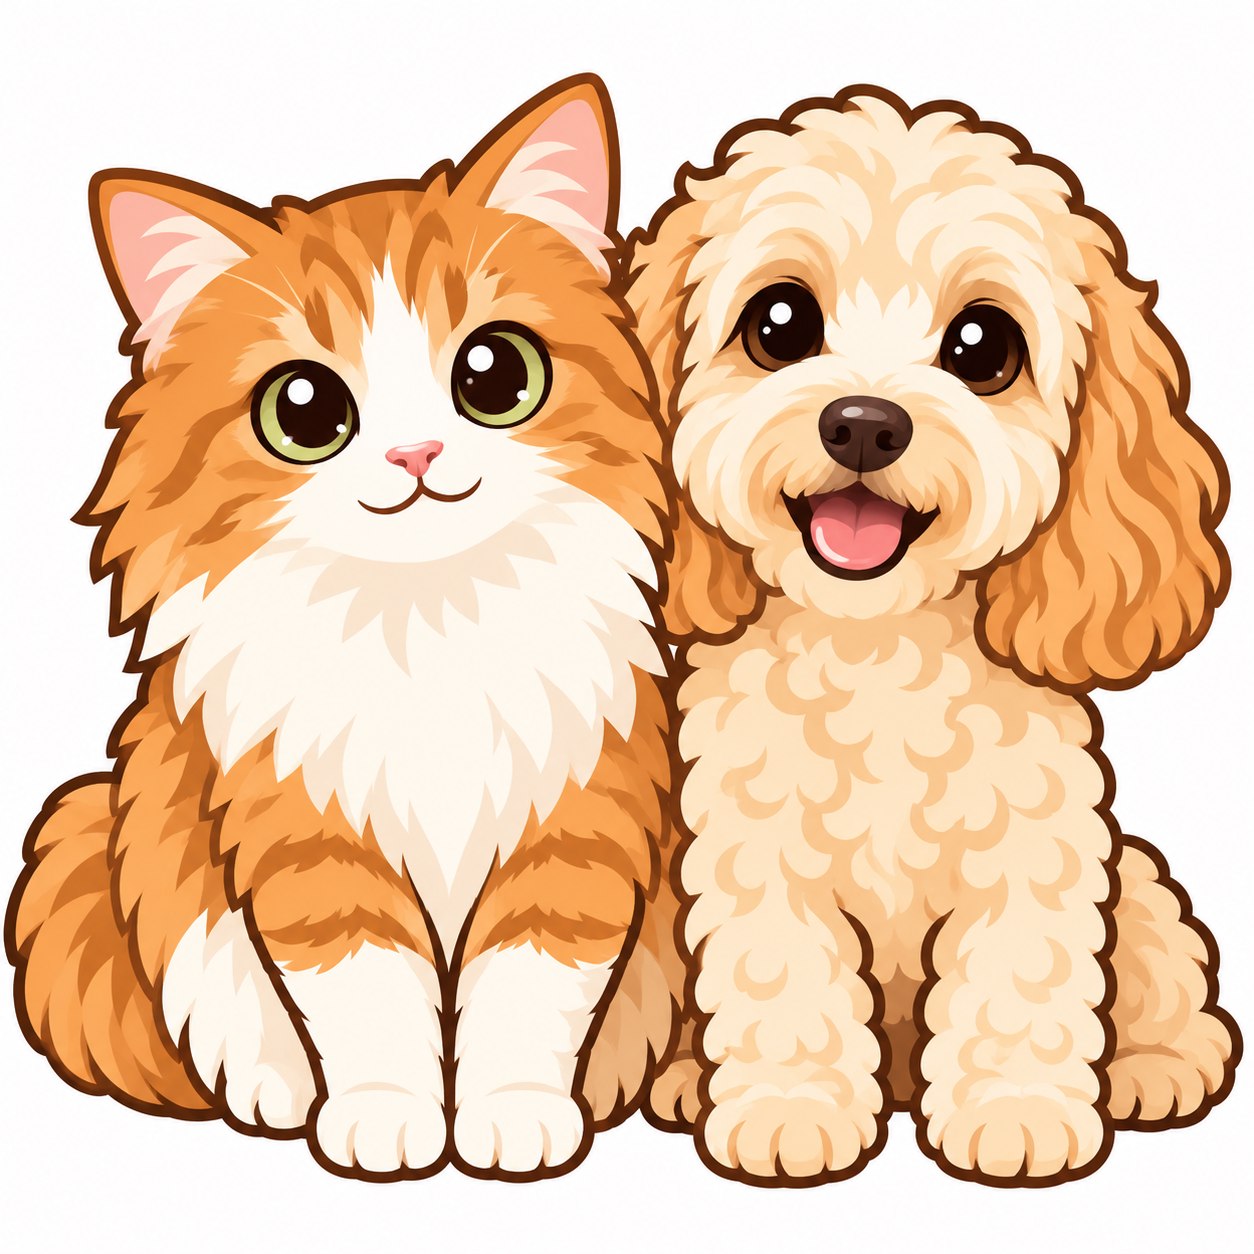
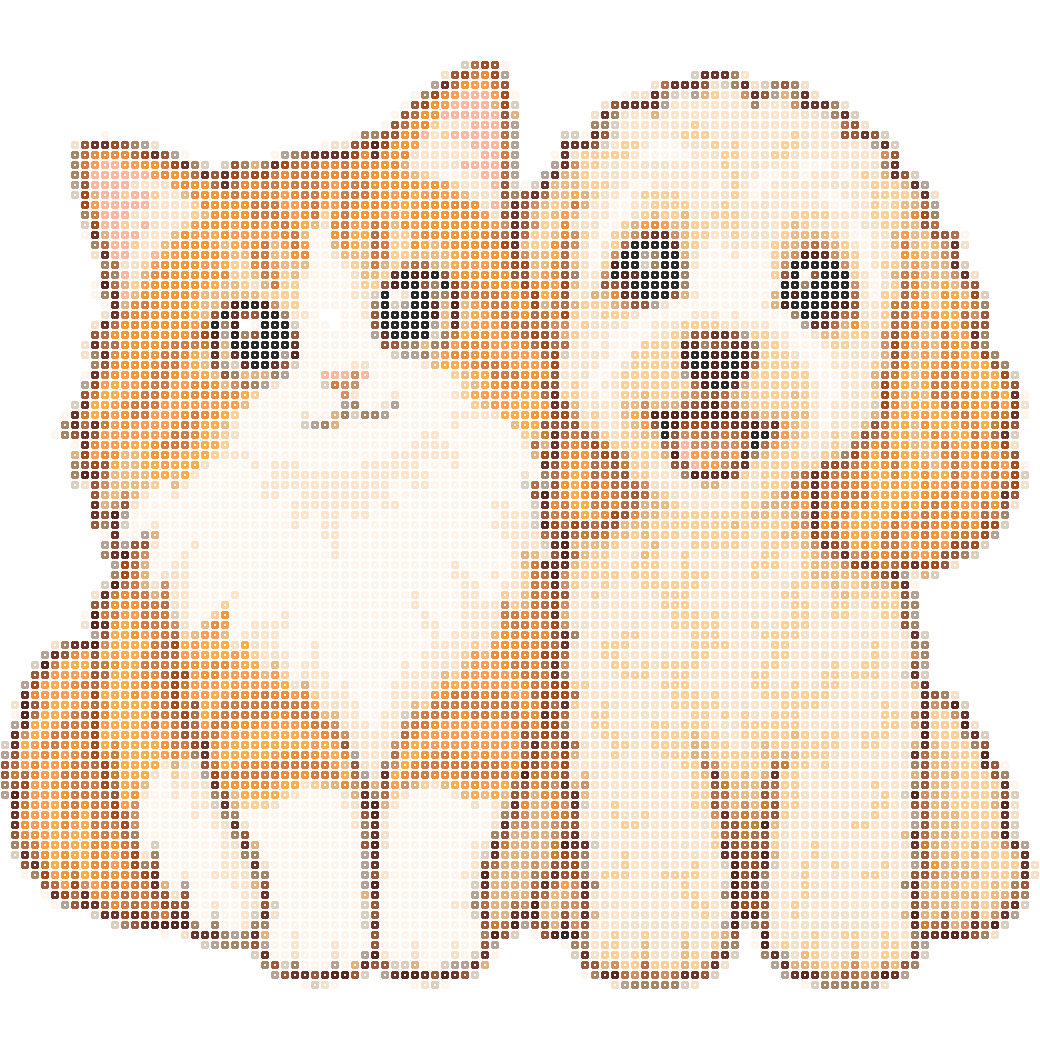
Upload or replace image
Click the upload area to select a JPG, PNG, or WEBP, or drag a file in or paste a screenshot on the page. The limit for a single file is 12 MB. After uploading, the material name appears beside the thumbnail. “Replace Image” selects a new source, while “Crop Image” removes excess edges so the cat or dog occupies more of the frame.
02Adjust parameters on the left and compare results on the right
Confirm which image you are currently editing. If you only want to adjust the composition, use Crop instead of uploading again.
“Longest side” keeps both width and height within the set limit; “Width” fixes the number of columns, so portrait images may generate more rows. Quick numbers let you compare sizes quickly.
This is a maximum, not a guarantee that all colors will be used. Fewer colors usually require fewer materials and are easier to assemble, but setting it too low may merge the eyes and shadows. The cat and dog examples start with 104 cells and 24 colors.
Use Color Saver for small designs; Balanced works well for images by balancing outlines and workload; choose Detail to preserve more details with more grid cells and colors. Compare the preview and material usage after clicking, then decide.
Choose the palette you actually use first
At the bottom left, “Beads and Color Chart” lets you choose a brand and 2.6 mm or 5 mm beads. Color codes vary by brand, and size also affects the estimated finished dimensions. The built-in color chart is for screen reference; you can import a supplier’s CSV or JSON color chart. Do not use the reference color codes on this site to purchase beads from another brand.
After adjusting the parameters, click “Generate My Pattern.” Standard image conversion only samples, limits colors, and matches the color palette; it does not call AI or consume AI credits. Access to pattern tools and AI credits is managed separately.
03The subject doesn’t look right? Open framing and style settings
| Options | What it does and when to use it |
|---|---|
| Aspect ratio | Original aspect ratio preserves the original width-to-height relationship; square images suit portraits, portrait images suit full-body figures, and landscape images suit two-person photos. After changing the ratio, check that the ears and tail have not been cropped. |
| Leave Blank / Fill | Leave Blank preserves the full image; Fill crops it to the center. The checkerboard indicates transparent areas, which do not need beads. Use subject scale and horizontal/vertical position for precise placement. |
| Average Sampling / Sharp Pixels | Average Sampling is suitable for photos and illustrations; Sharp Pixels is suitable for pixel art that already has hard edges, preventing edges from becoming blurry after another resize. |
| Color Simplification | Reduce isolated speckles and make large color blocks more continuous. After applying, check the eyes, whiskers, and small accessories, and restore them in the editor if needed. |
| Brightness / Contrast / Saturation | These separately affect brightness, tonal differences, and color vividness. Keep the settings neutral at first, then adjust only one at a time so the differences are easy to see. |
| Dithering / Remove Background | Dithering simulates gradients with alternating color dots, which may make assembly more difficult. Removing a similar solid-color background works well for clean backgrounds; complex photos need preprocessing first. |
After finishing, click “Apply Parameters and View Results.” If you are not satisfied, use Undo in the console to return to the previous version. Regenerating recalculates the grid, so save a backup first if you have manually edited individual cells.
04Check the outline and how many beads you need to prepare.
| Controls | How to Use |
|---|---|
| Original photo / Framing | Review the source material and composition before entering the conversion algorithm. These are not the final color-code charts. |
| Finished Look / Make Pattern | Finished Look makes it easier to view the overall effect from a distance; Make Pattern helps you check each cell. Zoom in to inspect the eyes, nose, and ear edges of the cat or dog. |
| Round beads / Square grid / Color codes / Symbols | Round beads show texture, square grids show color blocks, color codes work well for assembling by number, and symbols are suitable for black-and-white viewing. Switching the display mode does not change the pattern grid. |
| Remove background | 新图片和示例默认保留背景。点击移除边缘连通的纯色或白色背景,按钮显示“✓ 已去背景”;再次点击可恢复。这会改变实际颗数与导出结果,不只是画布底板颜色。 |
| Highlight color | 开启后,点击豆子清单色号或图中豆点,会突出显示全图同色位置。再次点击关闭;高亮只改变观看效果,不会修改格子或导出颜色。 |
| Replace color | 开启后点击图中要替换的颜色,在弹窗中选择目标色号,全图同色一起替换,可撤销。用于精确换色,不会移动豆点。 |
| Color merge strength | 左侧滑杆自动归并相近色,0保留原配色,值越大越容易合并。减少颜色后注意检查五官。手动多选色号的“合并颜色”放在编辑图纸里面。 |
| Flip / Zoom / Download | The two-way arrow opens flip and recolor options, the expand icon enlarges the view, and the download icon opens export. Zooming changes only the viewing scale, not the actual grid size. |
| Edit Pattern / Open Editor | Open the cell editor and use the pencil to add lines, fill colors, or refine with the eraser. Useful for fixing small details left behind after algorithmic conversion. |
“Your bead list” on the right
Each row shows the color, reference color code, and actual bead count. Click a color to select it as the current pencil color; edited quantities update automatically. “Choose More Colors” expands the available colors. “Export Materials List” downloads a CSV for purchasing and organization. The material budget can also estimate shortages based on inventory, remaining stock, and price per 1,000 beads.
05Save, start beading, or take the chart to prepare materials
Name the work first, then click “Save chart” on the right. You can later find it under “My charts.” Automatic drafts help restore recent actions; formally saved works are better for long-term management and continuing across devices. Sharing and publishing are separate actions—confirm before making a work public.
- Color-code PNG: check the code in each cell; Finished PNG: view the overall result; Black-and-white symbol PNG: reduce the need for color printing.
- CSV materials list: check quantities by color and purchase shortages; SVG: stays clear when enlarged; JSON backup: preserves the grid, color palette, and progress for easy import later.
- Print the full image or print by board: open the print-only page, then use the browser print dialog to save it as a PDF. Board sections are divided into 29×29 cells and retain global coordinates.
- “Start beading” opens the beading assistant. It records your actual bead placement progress without changing the pattern colors.